Widgets
For our first project, I was tasked with creating 6 different widgets. Here is a short guide to how I created my first one using the program Inventor. Inventor is a program used to make 2D sketches, and make them into 3D items. Using the software, you can assemble not only assemble the parts you make into one single project, you can also use it to create a 3D printable object
The first part of making the widgets was sketching them out on paper. This would make using Inventor easier. I started out my sketch with an inch by inch square. From there, I used the rectangle tool in order to create the outline of the shape, and I used the line tool to create a triangle at the top. I also made sure that all of the parts were dimensioned correctly. This left one step, which was using the extrude tool to make the sketch 3D.
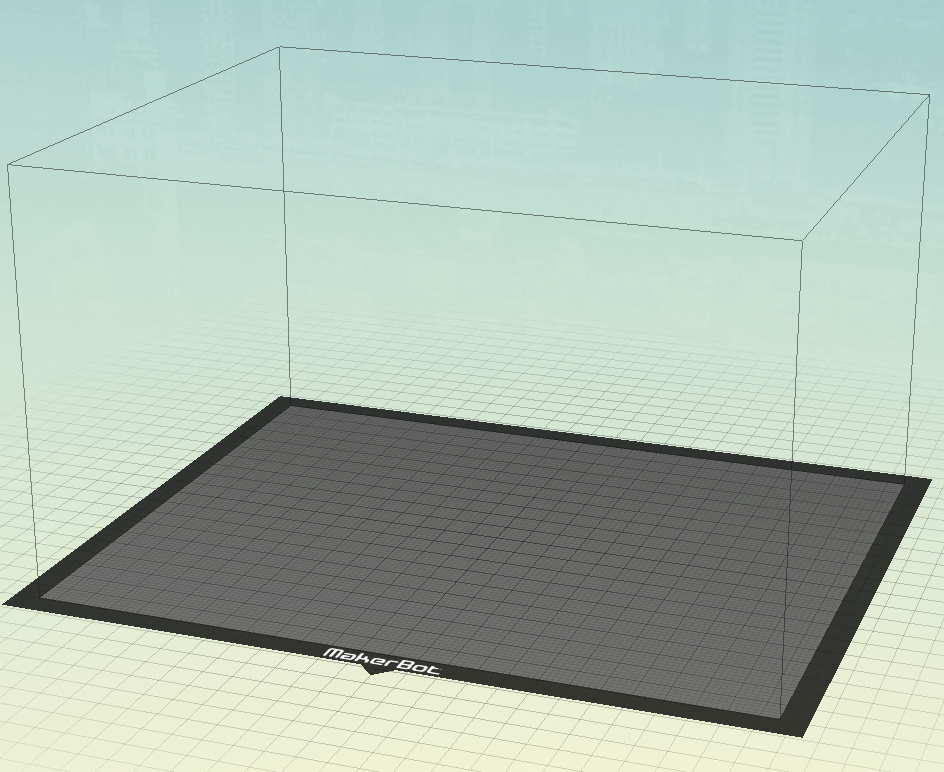
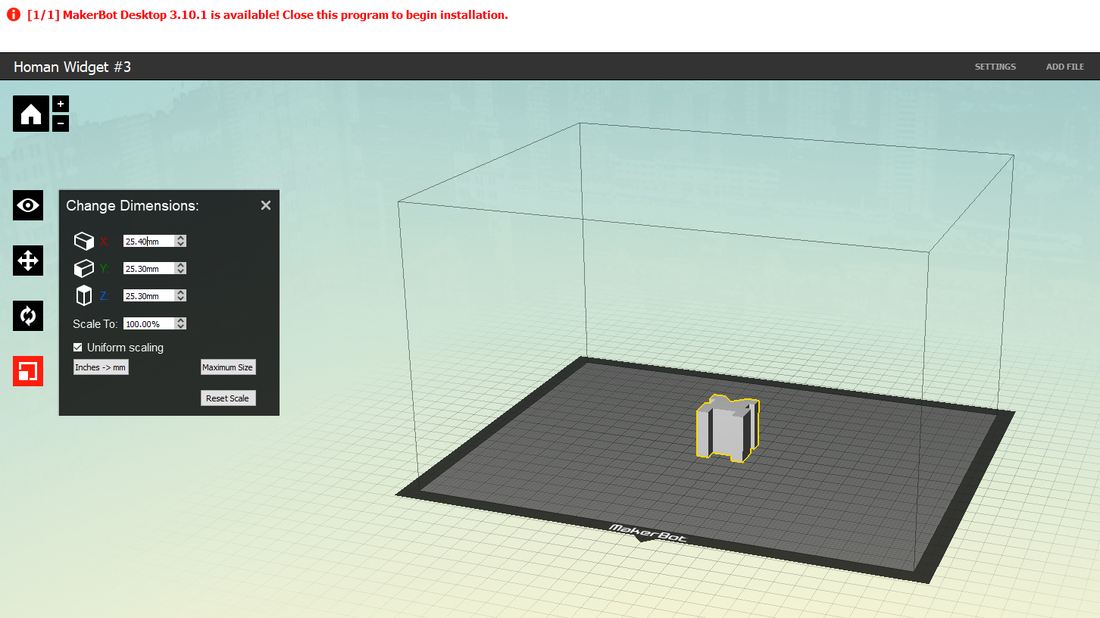
3D Printing The Widgets
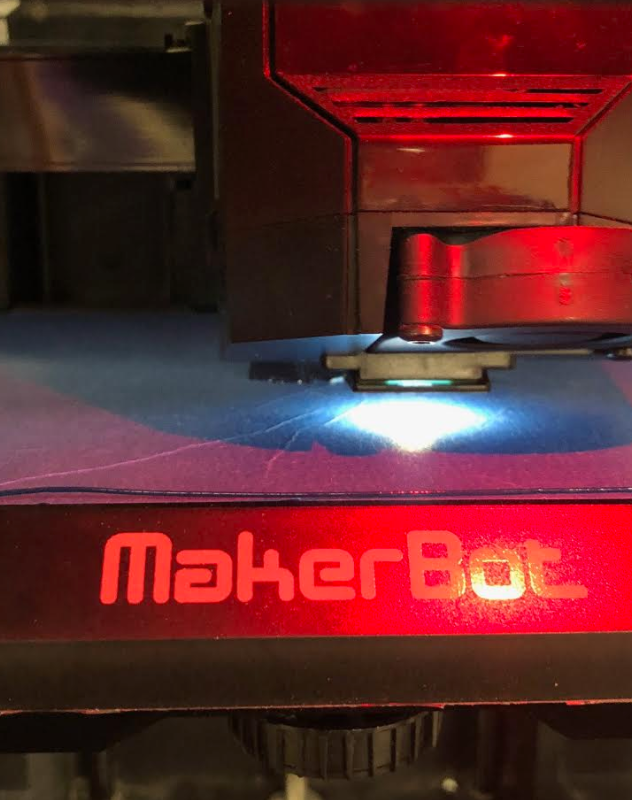
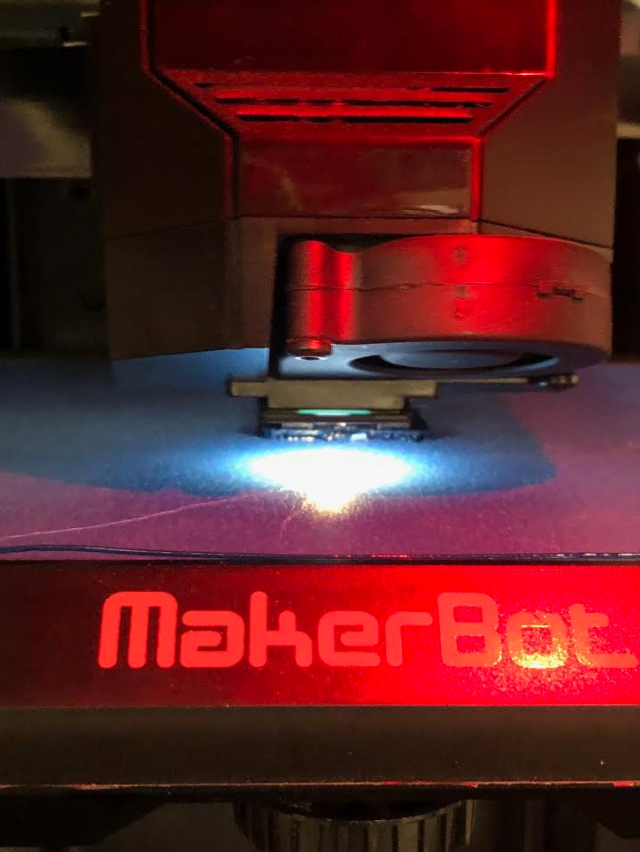
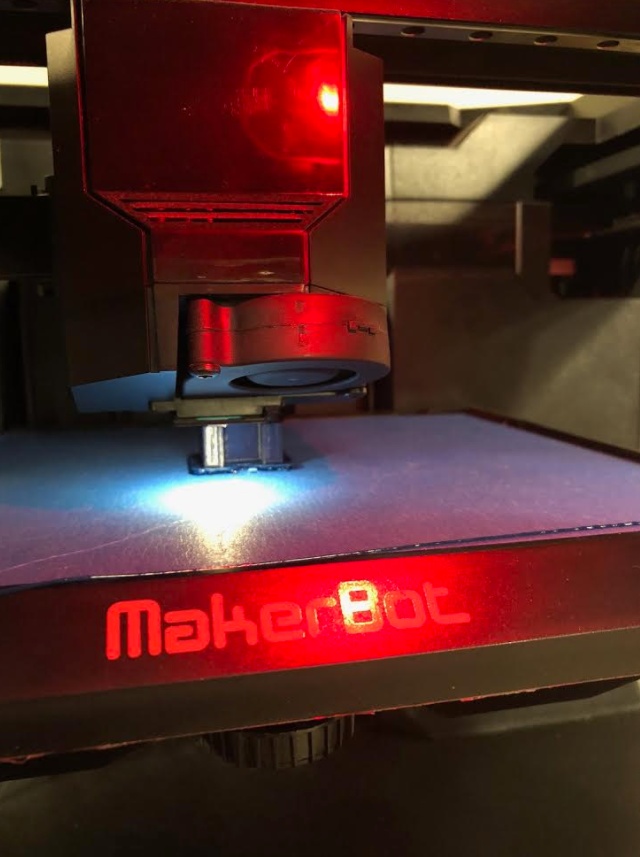
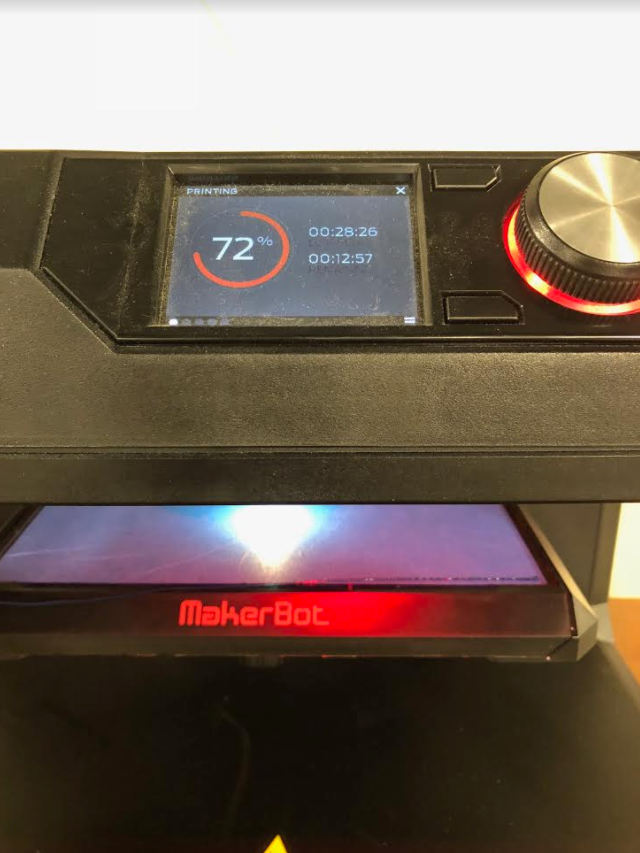
The final step in creating the widgets was 3D printing them. This required me to use the Makerbot program to set my widget up for 3D printing.
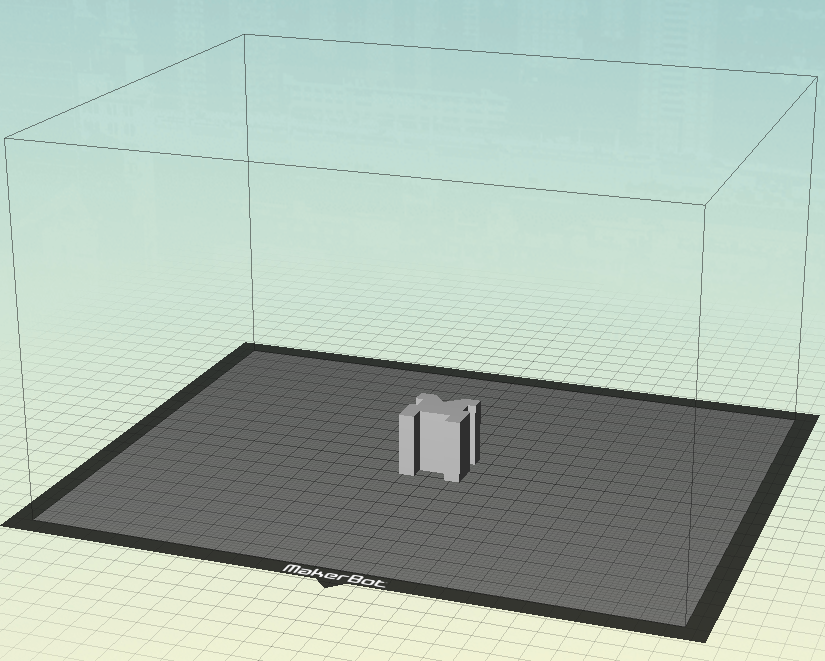

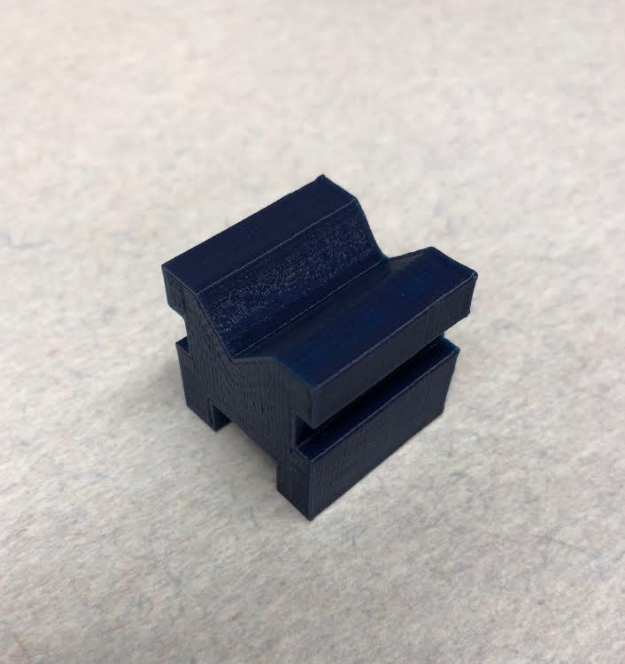
Final Widget
This introduction to Inventor went very well for me, mainly due to the fact that I have prior experience with the program. I already knew how to do everything that I had to do to create the six widgets in Inventor, so I was able to get through that step very easily. The part where I did learn new stuff was in the Makerbot program, or the 3D printing in general. I had never had anything to do with the program, and I was expecting to have a difficult time with it. That did not end up being the case however, since we had a very helpful set of instructions to guide us through the progress. I now feel that I could go through the entire widget making process without assistance.
